Data editing
 You have a permit to execute a borehole with the condition to return the data to administration. For this reason you want to insert into the BDMS the data from the following geological report:
1. Enter editing mode
To enter the editor mode you have to select it from the upper right menu (area 4) as specified in the interface section.
Once entered in editor mode on the bottom left you see four buttons:
- refresh: it permits to refresh the table rows
- reset: it permits to reset the entered filter to the initial status
- upload: it permits to upload a simple CSV with 3 columns (“east, north, name”) to bulk create new boreholes
- new: it permits to create a new borehole from scratch

2. Creating a new borehole
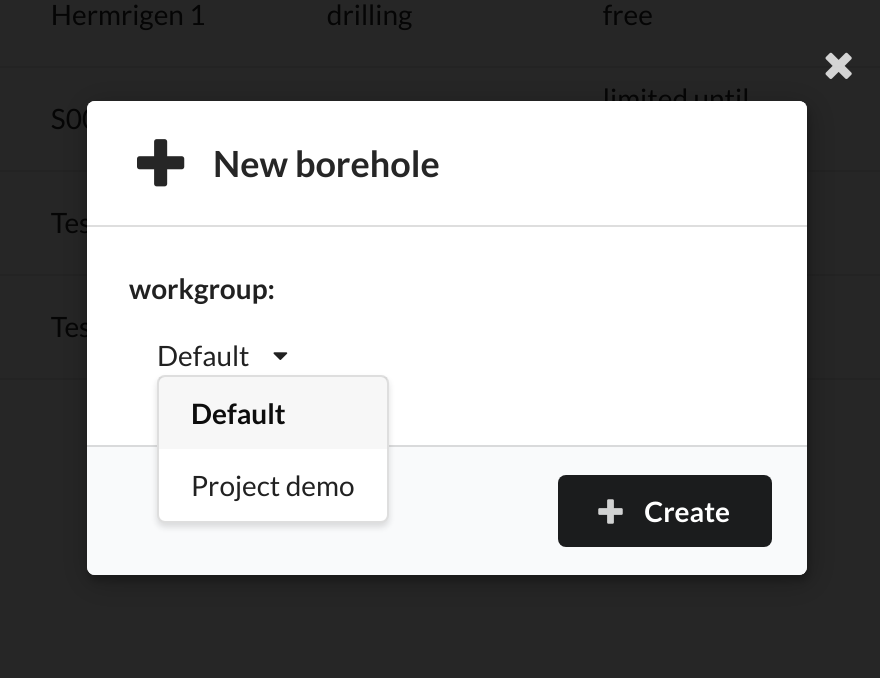
Select the new button and chose the workgroup where you desire to add new data.
Note
Workgroups are isolated collections of boreholes, often belonging to the same project. Each user can be a member of one or more workgroup and having different authorization level for each of them. For more information please see the authorization section.

Once the workgroup has been selected you’ll enter in the data editing of the newly created borehole. On the left side you’ll see three different data sections:
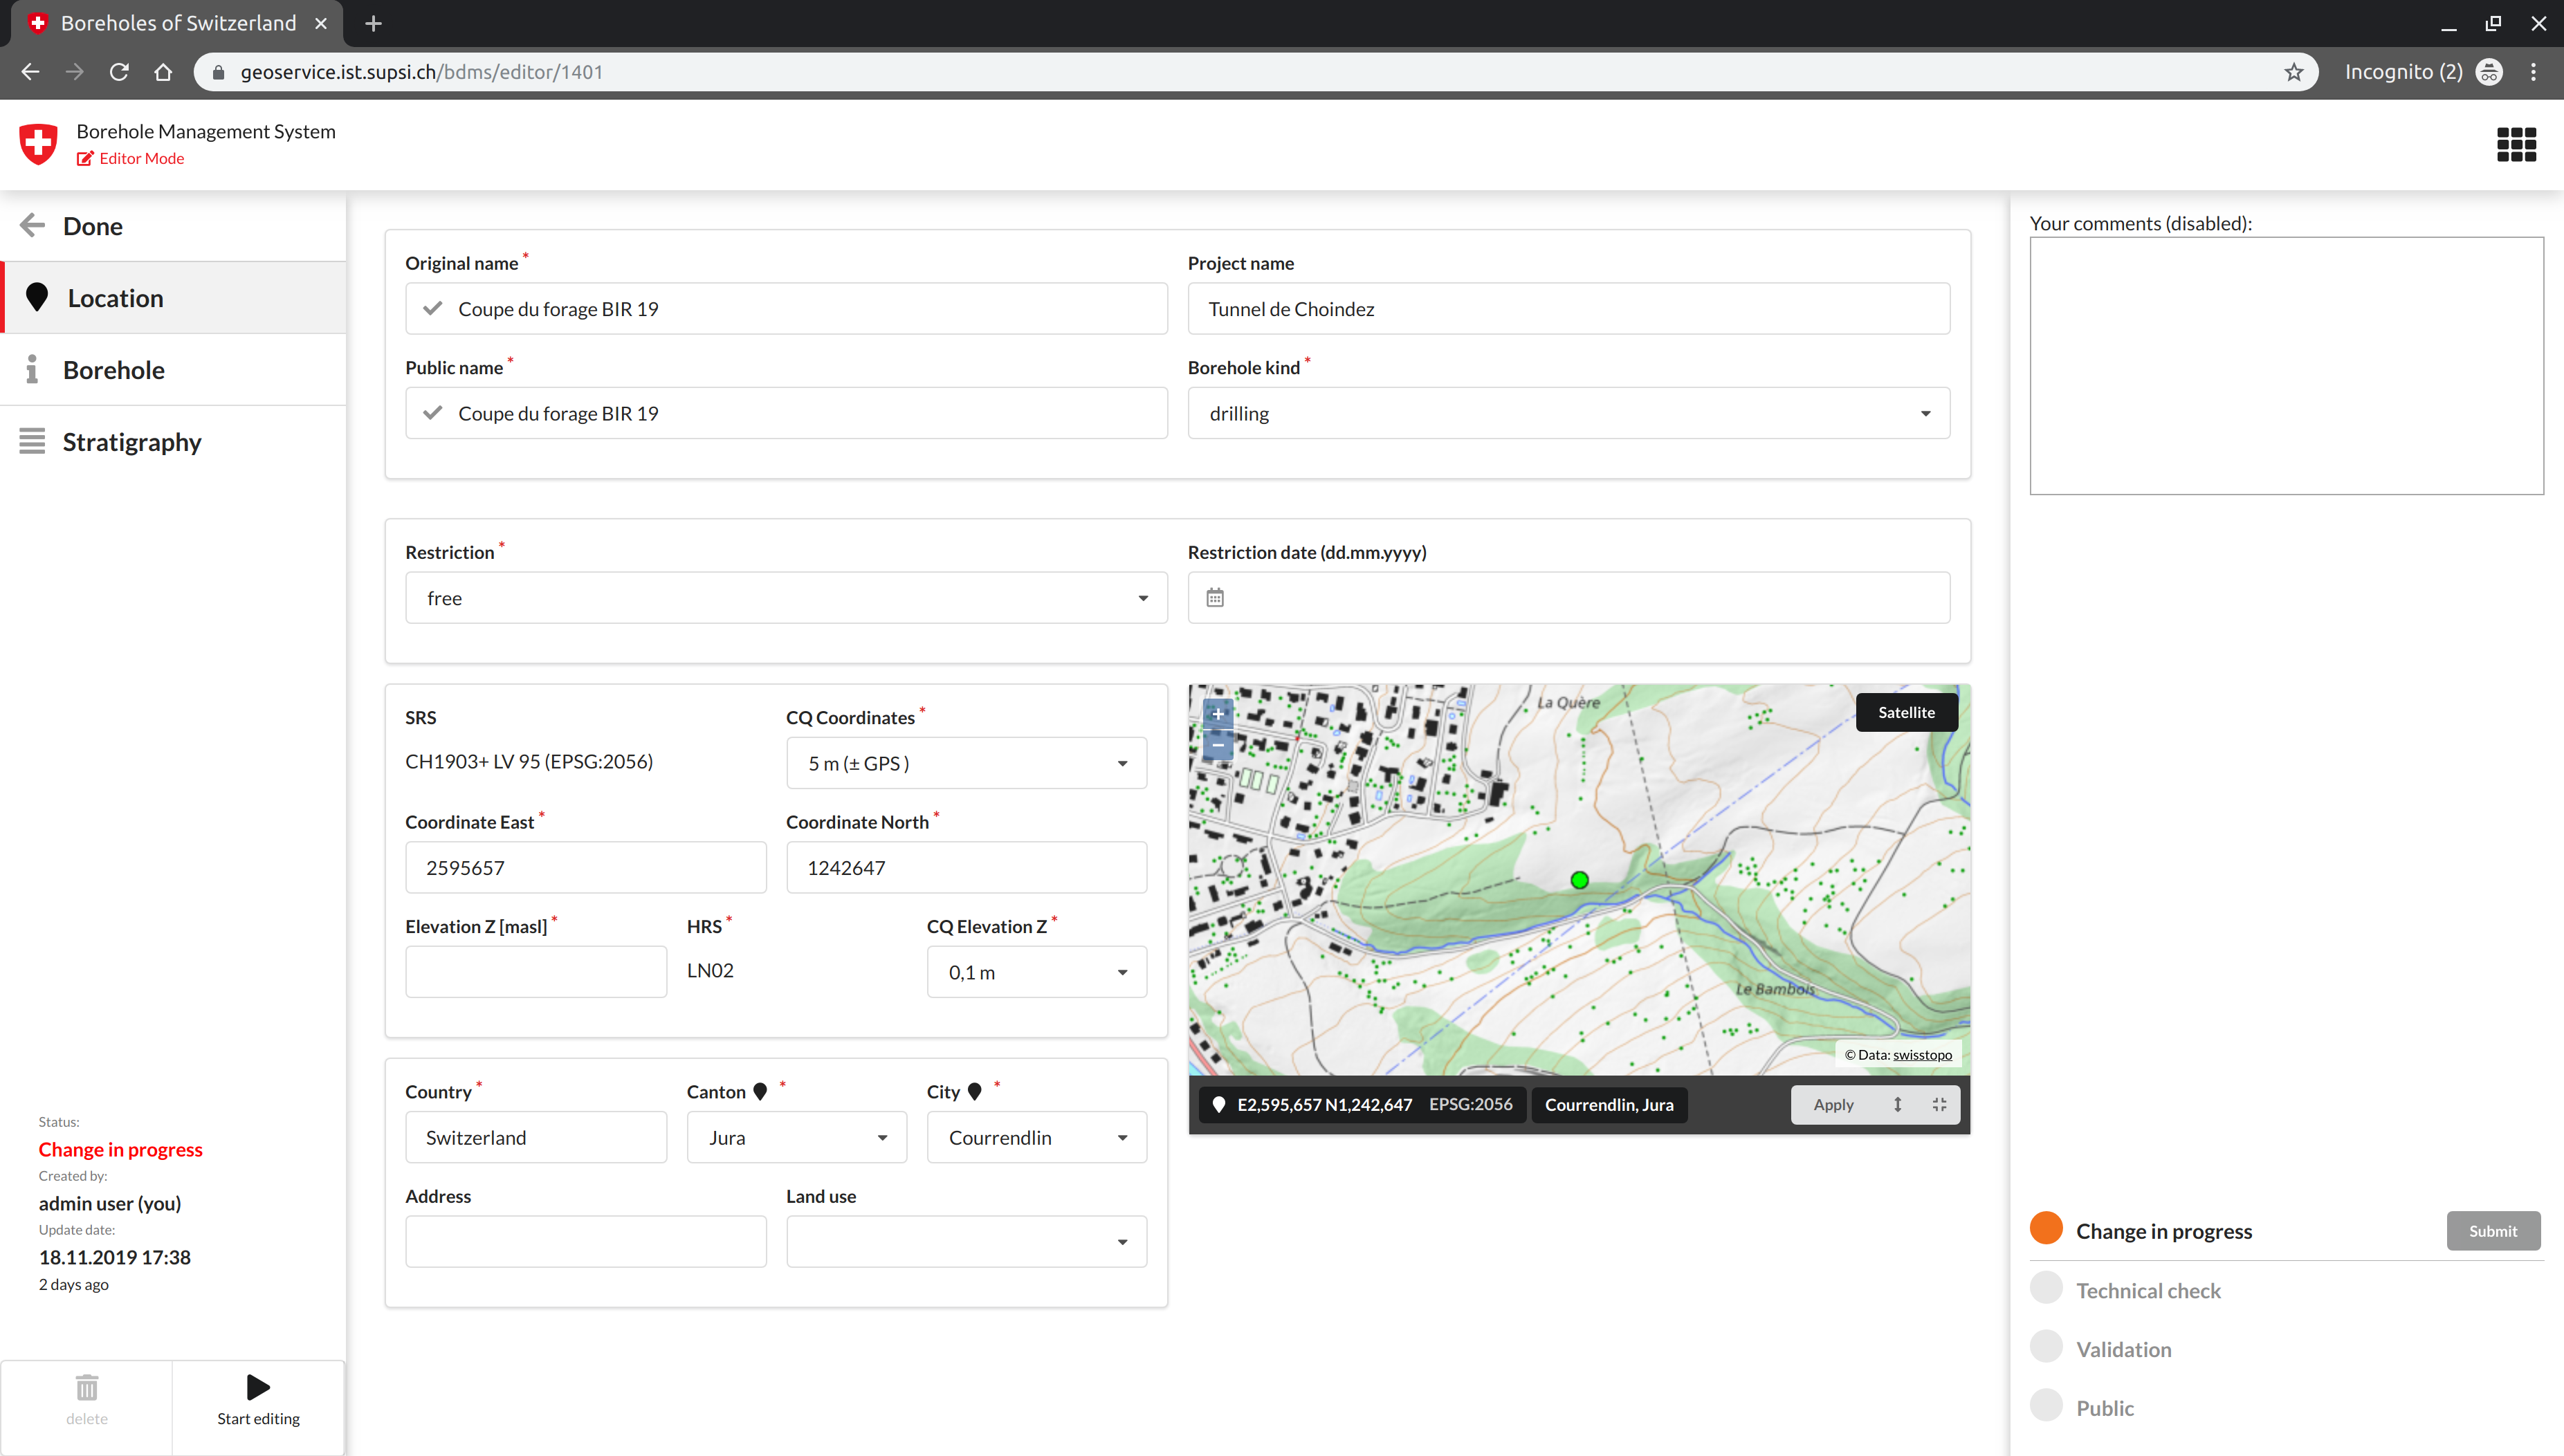
- Location: this section host the basic metadata (names, restrictions) and the borehole location (coordinates, address)
- Borehole: this section host the borehole specific technical metadata like inclinations, diameters, depth, top bedrock, etc.
- Stratigraphy: this section host the stratigraphy as a results of a sequence of layers with their own specific characterizations (lithology, listratigraphy, etc..)
Note
Before entering the data the user has to activate the editing by pressing the start editing button at the bottom right corner of the application.
3. Location data section
The red fields are strictly mandatory to physically create the borehole in the database while fields with asterisks (*) are mandatory according to the data model. All the other fields are optional.

As soon as data are entered they are stored in the system so there is no need to save your edits. Moreover, strictly mandatory fields are no more displayed in red.

4. Borehole data section
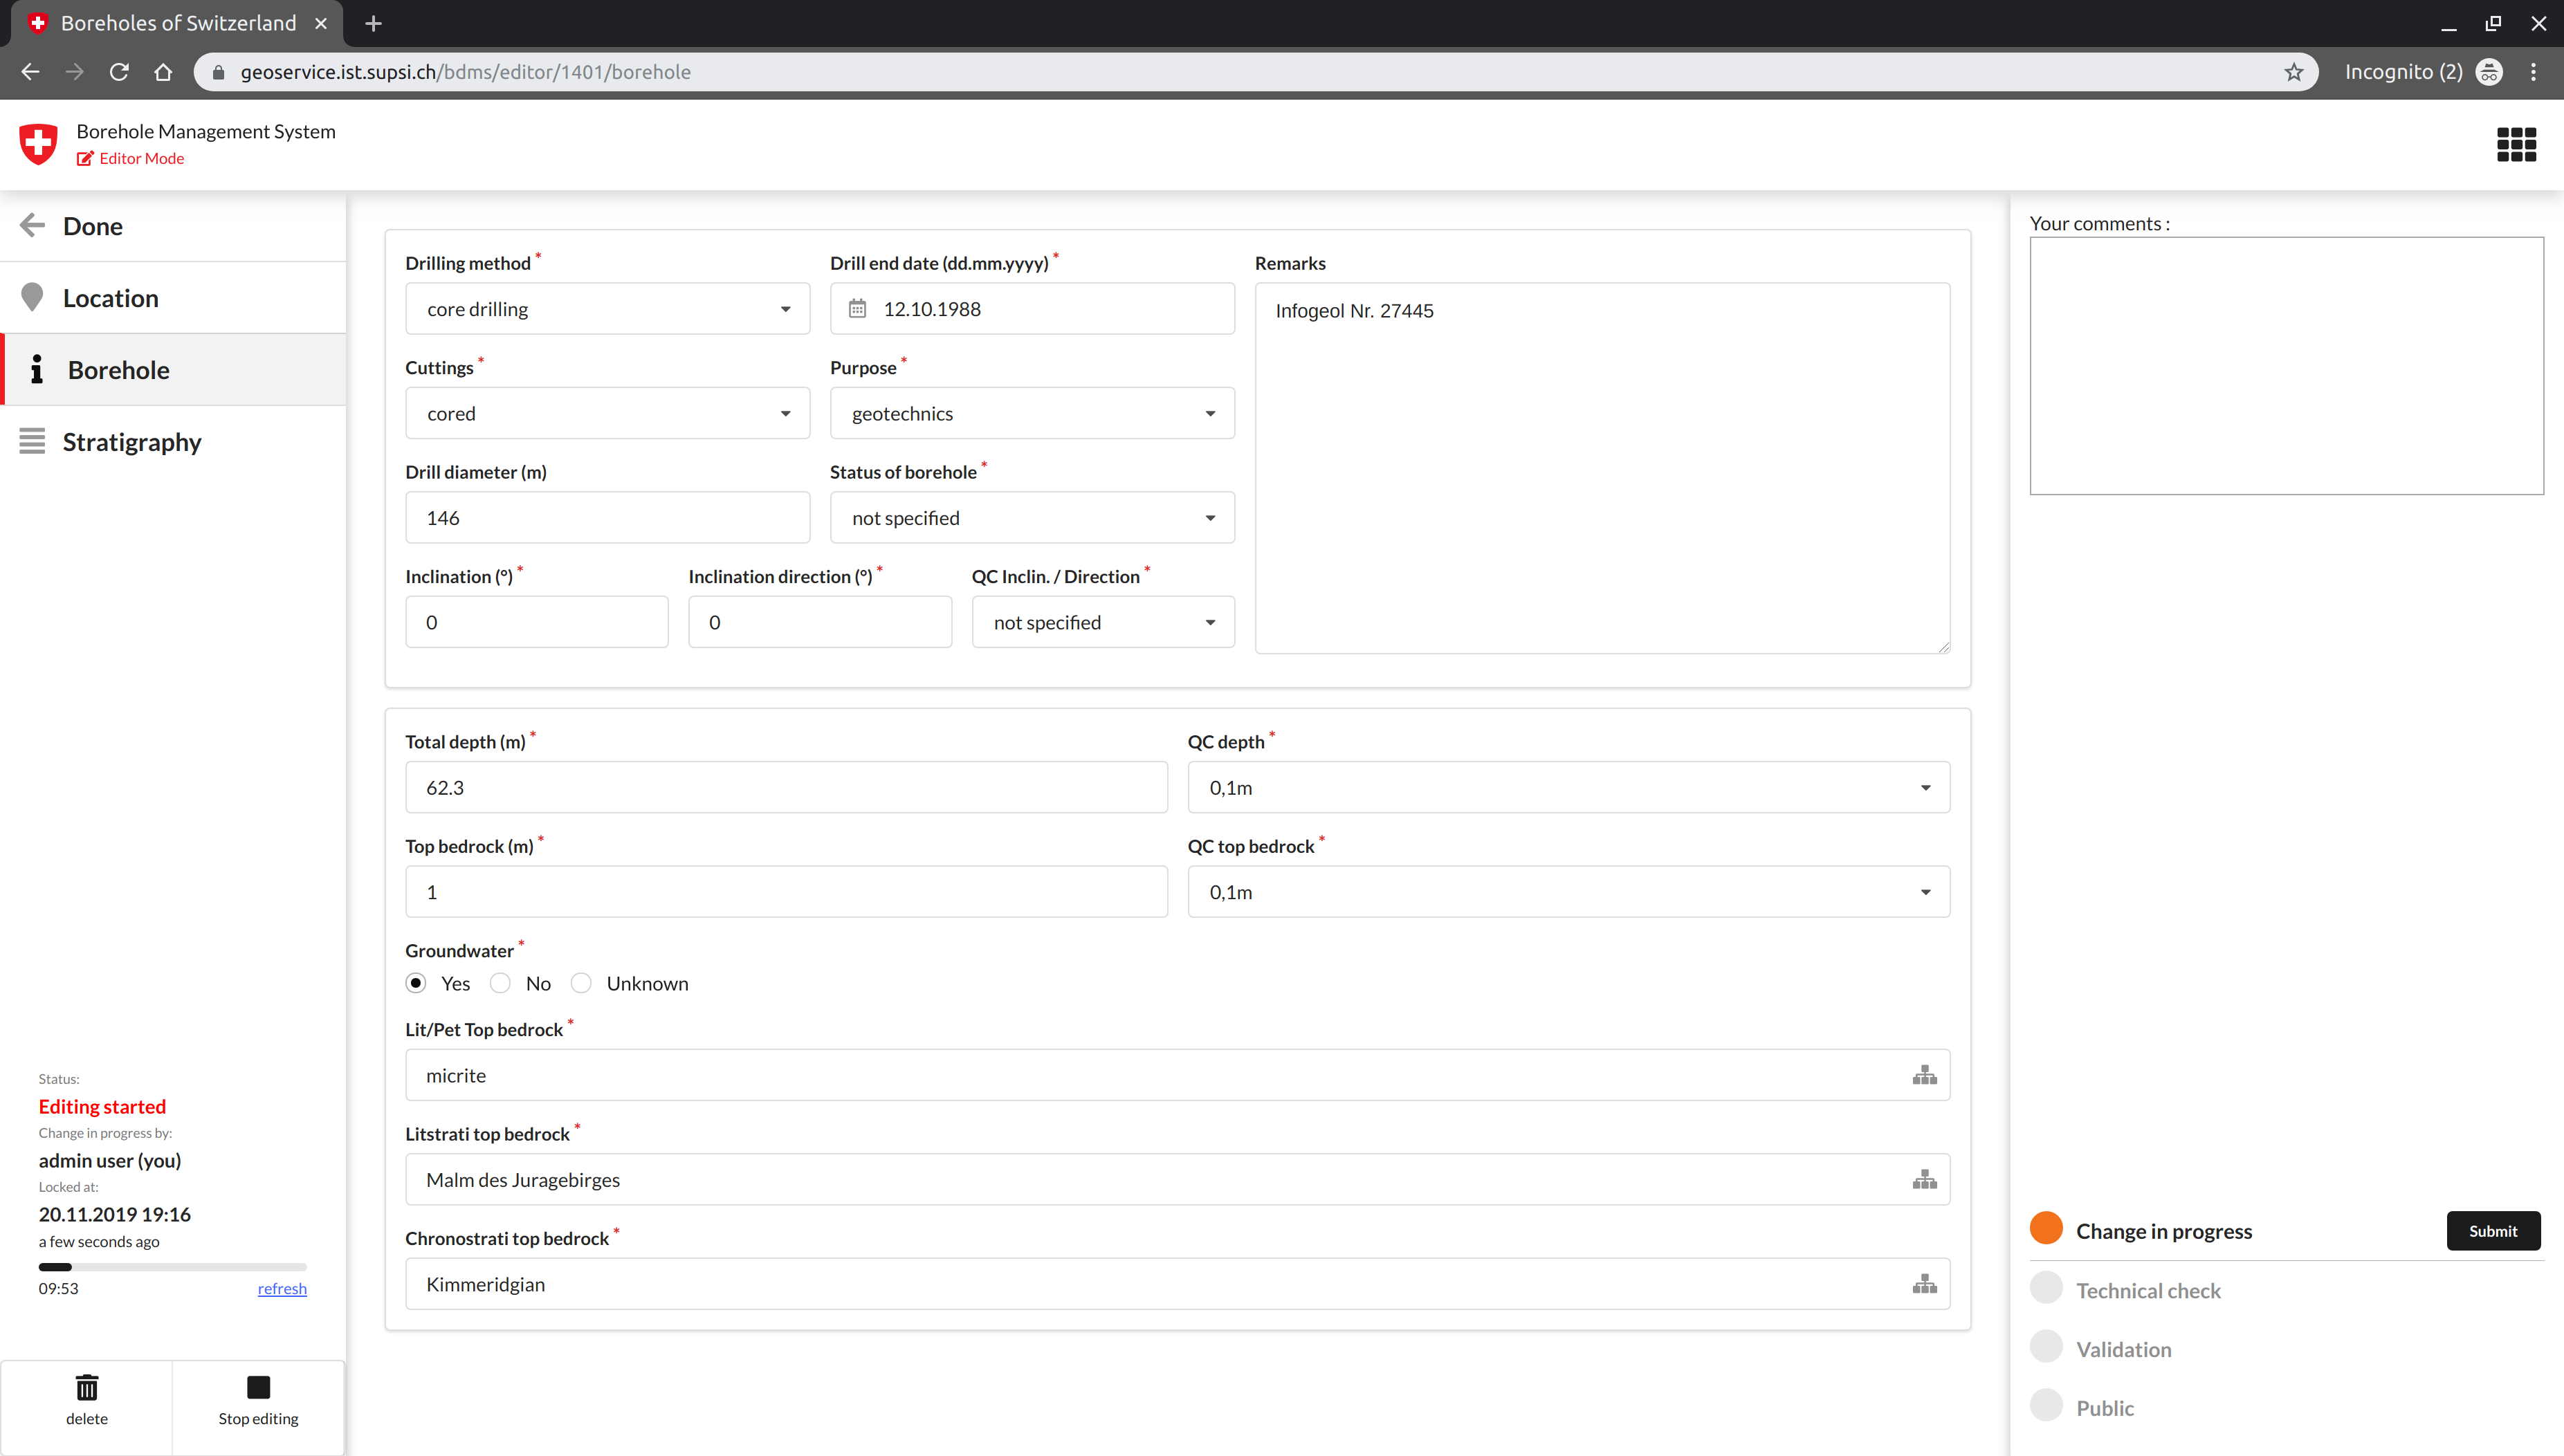
In this section there are technical details of the borehole. Strictly mandatory fields to complete a stratigraphy are: Total depth, Top bedrock, Lit/Pet Top bedrock and Litstrati top bedrock.

Note that when you want to enter Lit/Pet Top bedrock, Litstrati top bedrock and Chronostrati top bedrock a specific window will pop up. This window permits to navigate the hierarchical structure of the data in the left side part by selecting different nested classes. Optionally, the Filter by name field enable direct search of known names.

Entering the data you find in the Geological report you should have the following result.

5. Stratigraphy data section
Selecting the stratigraphy data section a button to add a first stratigraphy is shown. Create a stratigraphy and give it a name and date.
Note
Immediately you’ll see en error message saying “Missing bedrock”. This is because there is an automatic data validation that highlights inconsistencies and errors. If you click on the wrench icon on the left of the message you’ll get a support to fix it: either proposing a solution or indicating an action.
As shown in the animation below, add a bedrock and then fill the Base MD field of the layer as suggested to the total depth of the borehole.

Now, we are missing all the other layers! Using the add layer button add all the layers according to your stratigraphy (see the Geological report on top of this page) and fill all the relevant fields.

A data gap from the first layer to the bedrock still exists, so a warning is displayed! Fill in the gap, adding the layers from the geological interpretation.
Fill in with your notes / comments your work (arrow 1) and submit the entered data for a Scientific check (arrow 2).

Note
Since the bedrock in the interpretation is composed by several layers we should correct the Malm des Juragebirges layer adjusting the Base MS level and adding the other layers.